Xenon Kodi Build is perfect for Kodi 18 Leia from Chef Wizard, which uses Xenon skin and requires small storage only. It includes some top current add-ons including 13Clowns, Exodus Redux, Yoda, and so on. It has also lots of sections and one of the complete Builds.
For security and privacy, you can use a good VPN with Xenon Build. There are several options for VPN. Depending on your needs, choose the one that is affordable and low cost to use without logs or throttling.
How To Install Diggz Xenon Kodi Build?
Follow the below guidelines:
- Go to the Settings and find File Manager.
- Tap Add Source and choose None.
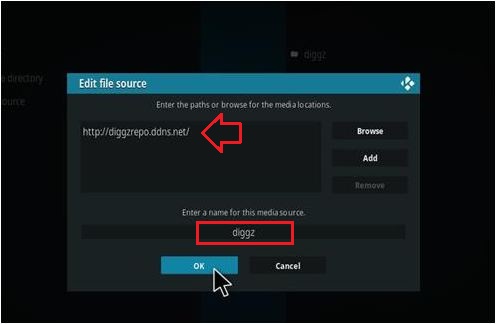
- Enter this URL http://diggzrepo.ddns.net/ then tap on OK and name the address with diggz.
- Go to Home Screen and click the add-ons.
- Choose the add-on browser from its top left.
- Now click the Install from zip file and a box would open. Then, click diggz.
- Choose install_wizard and wait for the popup window.
- Select repository.diggz-4.0.zip and then wait for the notification Diggz Repository Add-on Installed which you can see at top right.
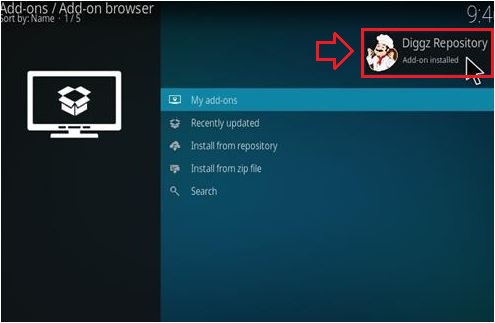
- Now tap on the Install from repository and click Diggz Repository.
- Choose Program Add-ons and Select The Chef Leia Wizard and then tap on Install.
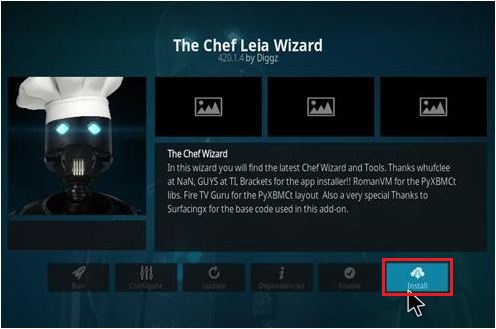
- Wait for the popup window to see The Chef Wizard Add-on Installed.
- Now you will see a pop-up information message on the screen and choose Dismiss.
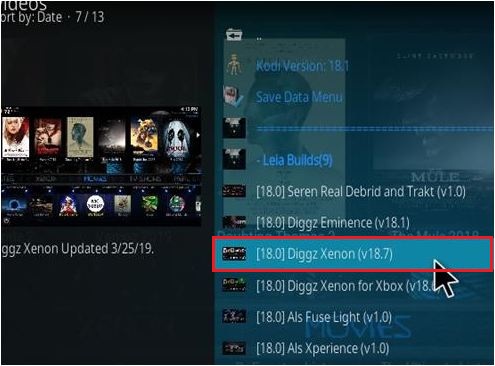
- Proceed to Continue and select Build Menu.
- Choose Diggz Xenon and choose which installation option is perfect for you. Usually, many people choose Fresh Install instead of Standard Install.
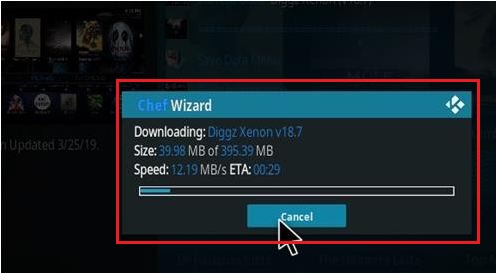
- Now tap on the Continue button and it will be downloaded.
- Proceed to the installation.
- After the installation is done, make sure to restart Kodi and it must come up. See to it that you provide time to update add-ons and build menus.
Change the Skin to Estuary with These Steps
- From the menu, go to the Xenon.
- At the bottom part, you will see the System Settings.
- Choose the Interface option and find the setting for the Skin.
- Change the skin to Estuary.
If the default skin is back to Estuary, the add-ons may be removed and all of the data cleared out using Fresh Start plugin.
If you have decided to uninstall Xenon Build, it can be done easily. There are times that Build doesn’t work well with hardware or doesn’t suit well for one’s preferences. The best way to remove Xenon Build is by changing the skin back to Estuary, which is the default. You must also delete the add-ons individually or you may use the Fresh Start plugin to delete the data and start over again.
To Conclude…
The steps to install Xenon Kodi Build are simple and anyone can do it no matter what your technical experience is. You don’t need the help of a professional to do the steps.
However, you might need assistance if you really cannot understand the steps. But, if you want to understand how the installation works, experiencing it first-hand can make a huge difference. With this, you can be assured that you will learn how to install Xenon Kodi Build on Kodi 18 Leia successfully.
You may like: How to download Atomic Kodi Build 18 Leia?
Thanks for sharing such an amazing article, really informative